Our living room has two ottomans that I bought so long ago that I don’t even dare to admit it. They are in constant use and still in good condition, but the fabric has worn out. So, it was time to sew new covers for them.

Here is how the other one looked like! Stripes from washing, worn out and even paint in one corner!

I searched my storage and found some old curtains made of sturdy fabric, which seemed perfect for reupholstering the footstools. The curtains had hemmed edges, gathering tape at the top, and a wide folded hem at the bottom. After unpicking the bottom hem and the gathering tape, I had a usable fabric piece measuring 200 cm x 145 cm. I left the original hemmed edges intact and used them as the bottom edges of the footstool covers.
I always try to leave as large a continuous piece of fabric as possible for future use and cut the pieces as close to each other as I can. However, to make the process easier this time, I took advantage of the existing edges and cut the pieces as shown in the image above. I cut the side pieces for the ottoman from the edges—four pieces per ottoman—and the top pieces from the center.

Tip for Seam Ripping: When unpicking a long, continuous stitch, I use a seam ripper (or sharp scissors) to cut the thread at one point. Then, I to remove few stitches without cutting the thread. Depending on the stitch length and tension, I cut the thread again after few stitches.

And I pull the cut part of the thread.

The end result is one continuous thread and a pile of short pieces. I’m not sure if this method is any faster than others, but at least I don’t have to clean up a bunch of tiny thread scraps afterward.

And since I never throw anything away, I of course saved the gathering tape. I simply tied off the end that was hidden under the fold to keep the gathering thread from unraveling.

Rahin uudistus
Olohuoneessamme on kaksi rahia, jotka olen ostanut niin kauan sitten, että en kehtaa edes tunnustaa. Rahit ovat jatkuvassa käytössä ja edelleen hyvässä kunnossa, kangas vain on kulunut. Oli siis aika ommella näihin uudet päälliset.

Lähtötilanne… Kuten näkyy, kangas on täynnä vaaleampia raitoja pesuista, kulunut kauttaaltaan ja yhdessä nurkassa on jopa maalia!

Etsin varastoistani vanhat verhot, jotka on sen verran tukevaa kangasta, että rahin päällisen pitäisi onnistua ihan hyvin. Verhojen reunat on päärmätty, yläreunassa on poimutusnauha ja alareuna oli käännetty leveälle taitteelle. Purettuani alareunan sekä poimutusnauhan käytettävissä oleva kangas oli 200cm x 145cm. Reunojen käänteitä en purkanut vaan hyödynsin ne päällisen alareunoina.
Pyrin aina jättämään mahdollisimman ison, yhtenäisen palan jäljelle myöhempää käyttöä varten ja leikkaan palat niin läheltä toisiaan kuin mahdollista. Nyt kuitenkin suosin työn helpottamiseksi reunoja ja leikkasin palat yllä olevan kuvan mukaan. Reunoilta leikkasin rahin reunoille tulevat palat; 4 palaa/rahi ja päällisen keskemmältä.

Vinkki purkamiseen. Pitkää yhtenäistä ommelta purkaessa katkaisen ompeleen ratkojalla (tai terävillä saksilla) yhdestä kohdasta, puran vetämällä muutaman ompeleen lankaa katkaisematta. Ompeleen pituudesta ja löysyydesta riippuen katkaisin ompeleen uudelleen muutaman piston päästä.

Ja vedän katkaistun langan irti.

Lopputuloksena yksi yhtenäinen lanka ja kasa lyhyitä pätkiä. En tiedä onko tämä sen nopeampaa purkamista kuin mikään muukaan, mutta ainakaan ei tarvitse siivota kasaa lyhyitä langanpätkiä.

Ja koska en hävitä mitään, otin toki talteen poimutusnauhan. Solmin vain taitteen alla olleen pään, ettei poimutuslanka ala purkautua.

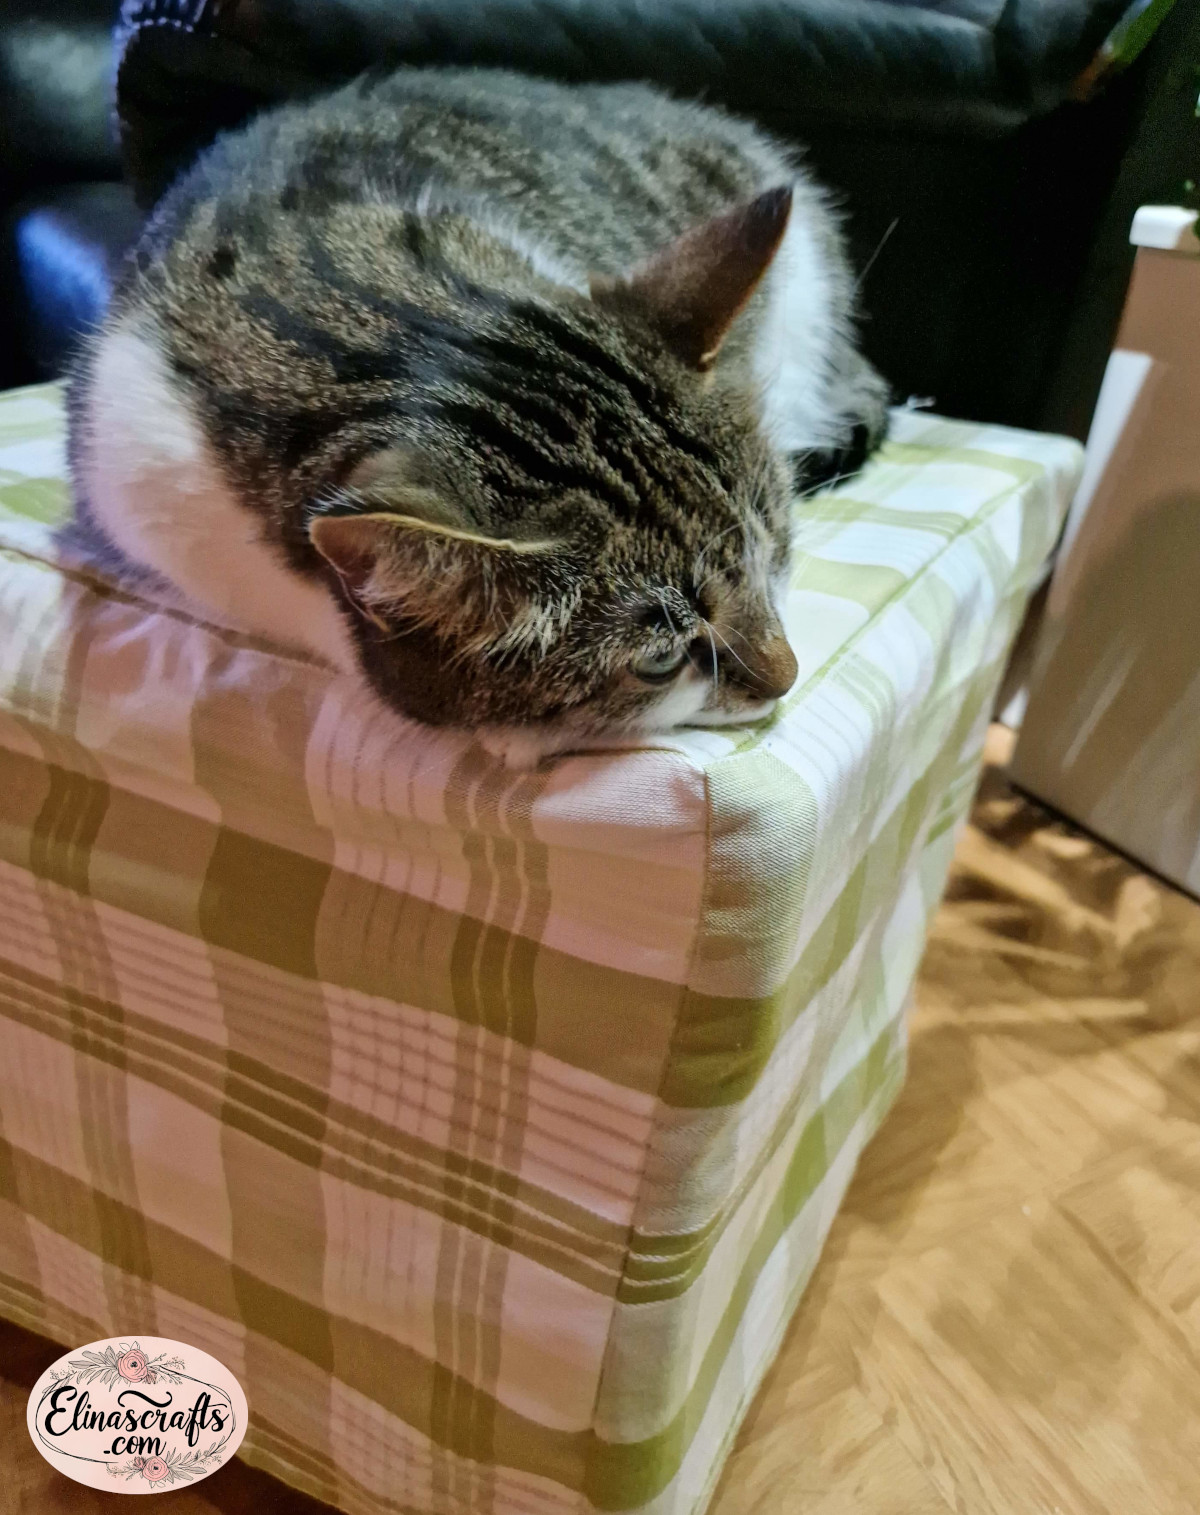
Näin pääsin helposti ompelemaan. Kiitos valmiina olleen reunataitteen minun tarvitse vain ommella sivut ensin päällipalaan ja lopuksi kulmat yhteen. Kissakin tykästyi heti.


Leave a Reply